You have many options when it comes to trim. Here is everything you need to know about architectural moldings, from materials to styles.
If you like the DIY world, you probably spend a lot of time on Pinterest. They have great ideas on molding and trim.
The question is do you understand what types moldings you are seeing?
Architectural moldings come in may different from materials to styles.
They are traditionally made from solid milled wood or plaster but may be of plastic reformed, recycled wood or even 3D printed.
There are also different ways to attach the moldings to walls and ceilings
Read on for your complete guide to architectural moldings and their installation.
Architectural Moldings
Moldings have multiple purposes and come in a wide variety of styles. Each type of molding is designed for a specific purpose.
Molding can frame a door, provide visual transitions or be used to add a more formal appearance to your home. You may even use moldings to restore your historic home to its original style.
The problem with choices is you have to choose, which is often difficult. Read on to learn about the different styles of molding and how to install them so you are never confused again.
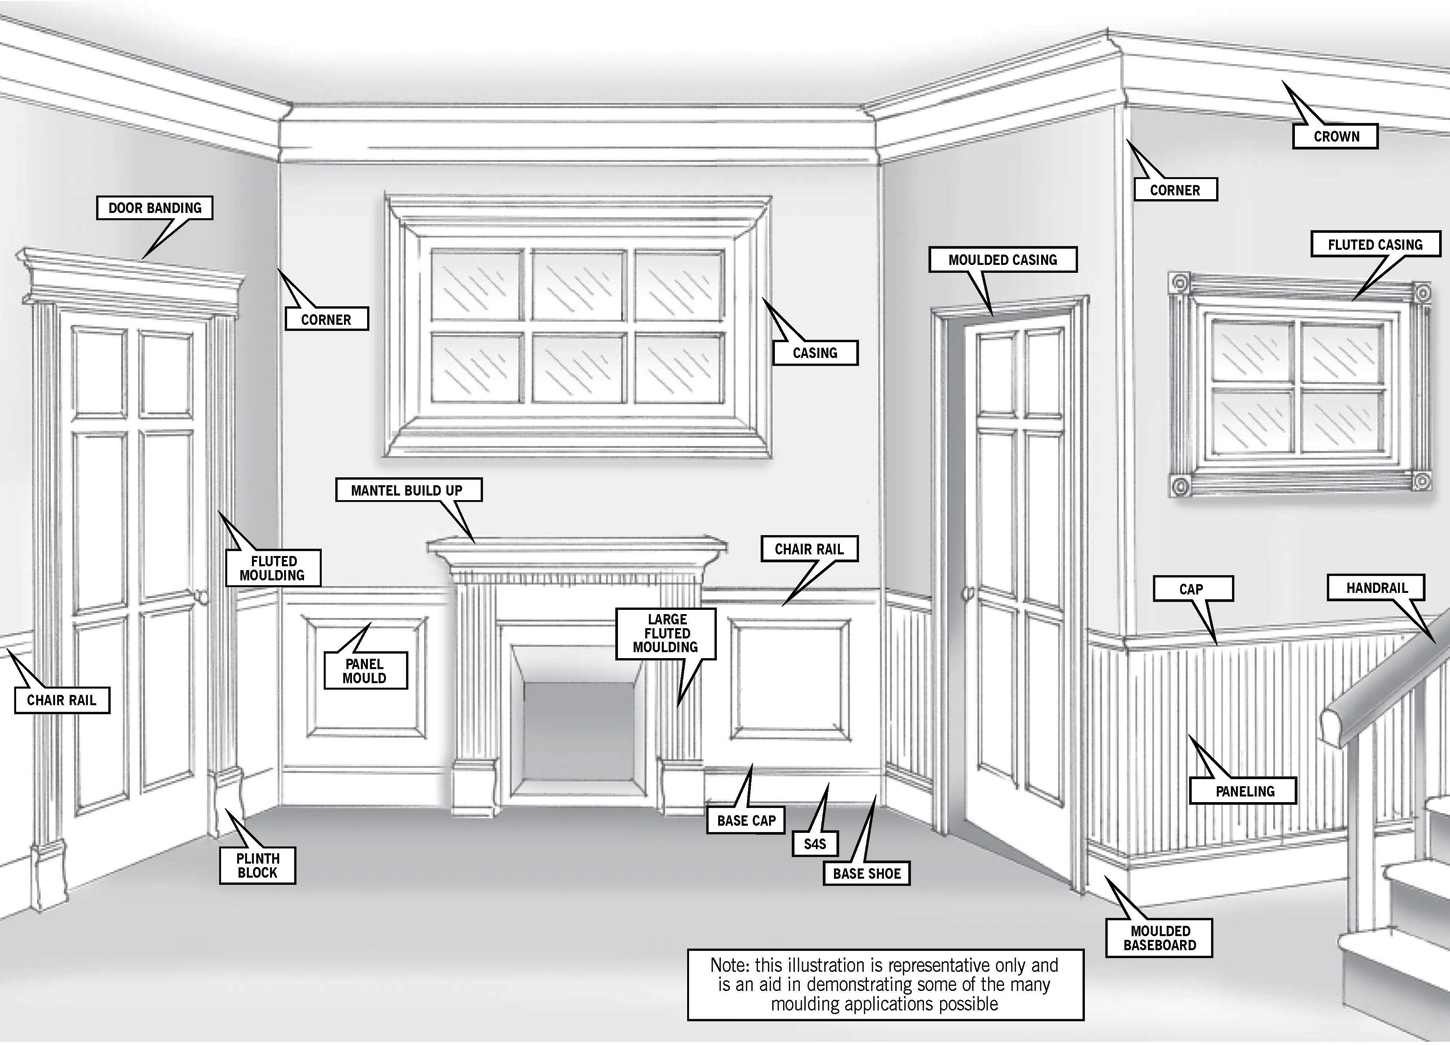
Casing
Casing a general term referring to the trim that covers the unfinished gap between walls and door or window frames. Typically the casing is only 2-3 inches wide.
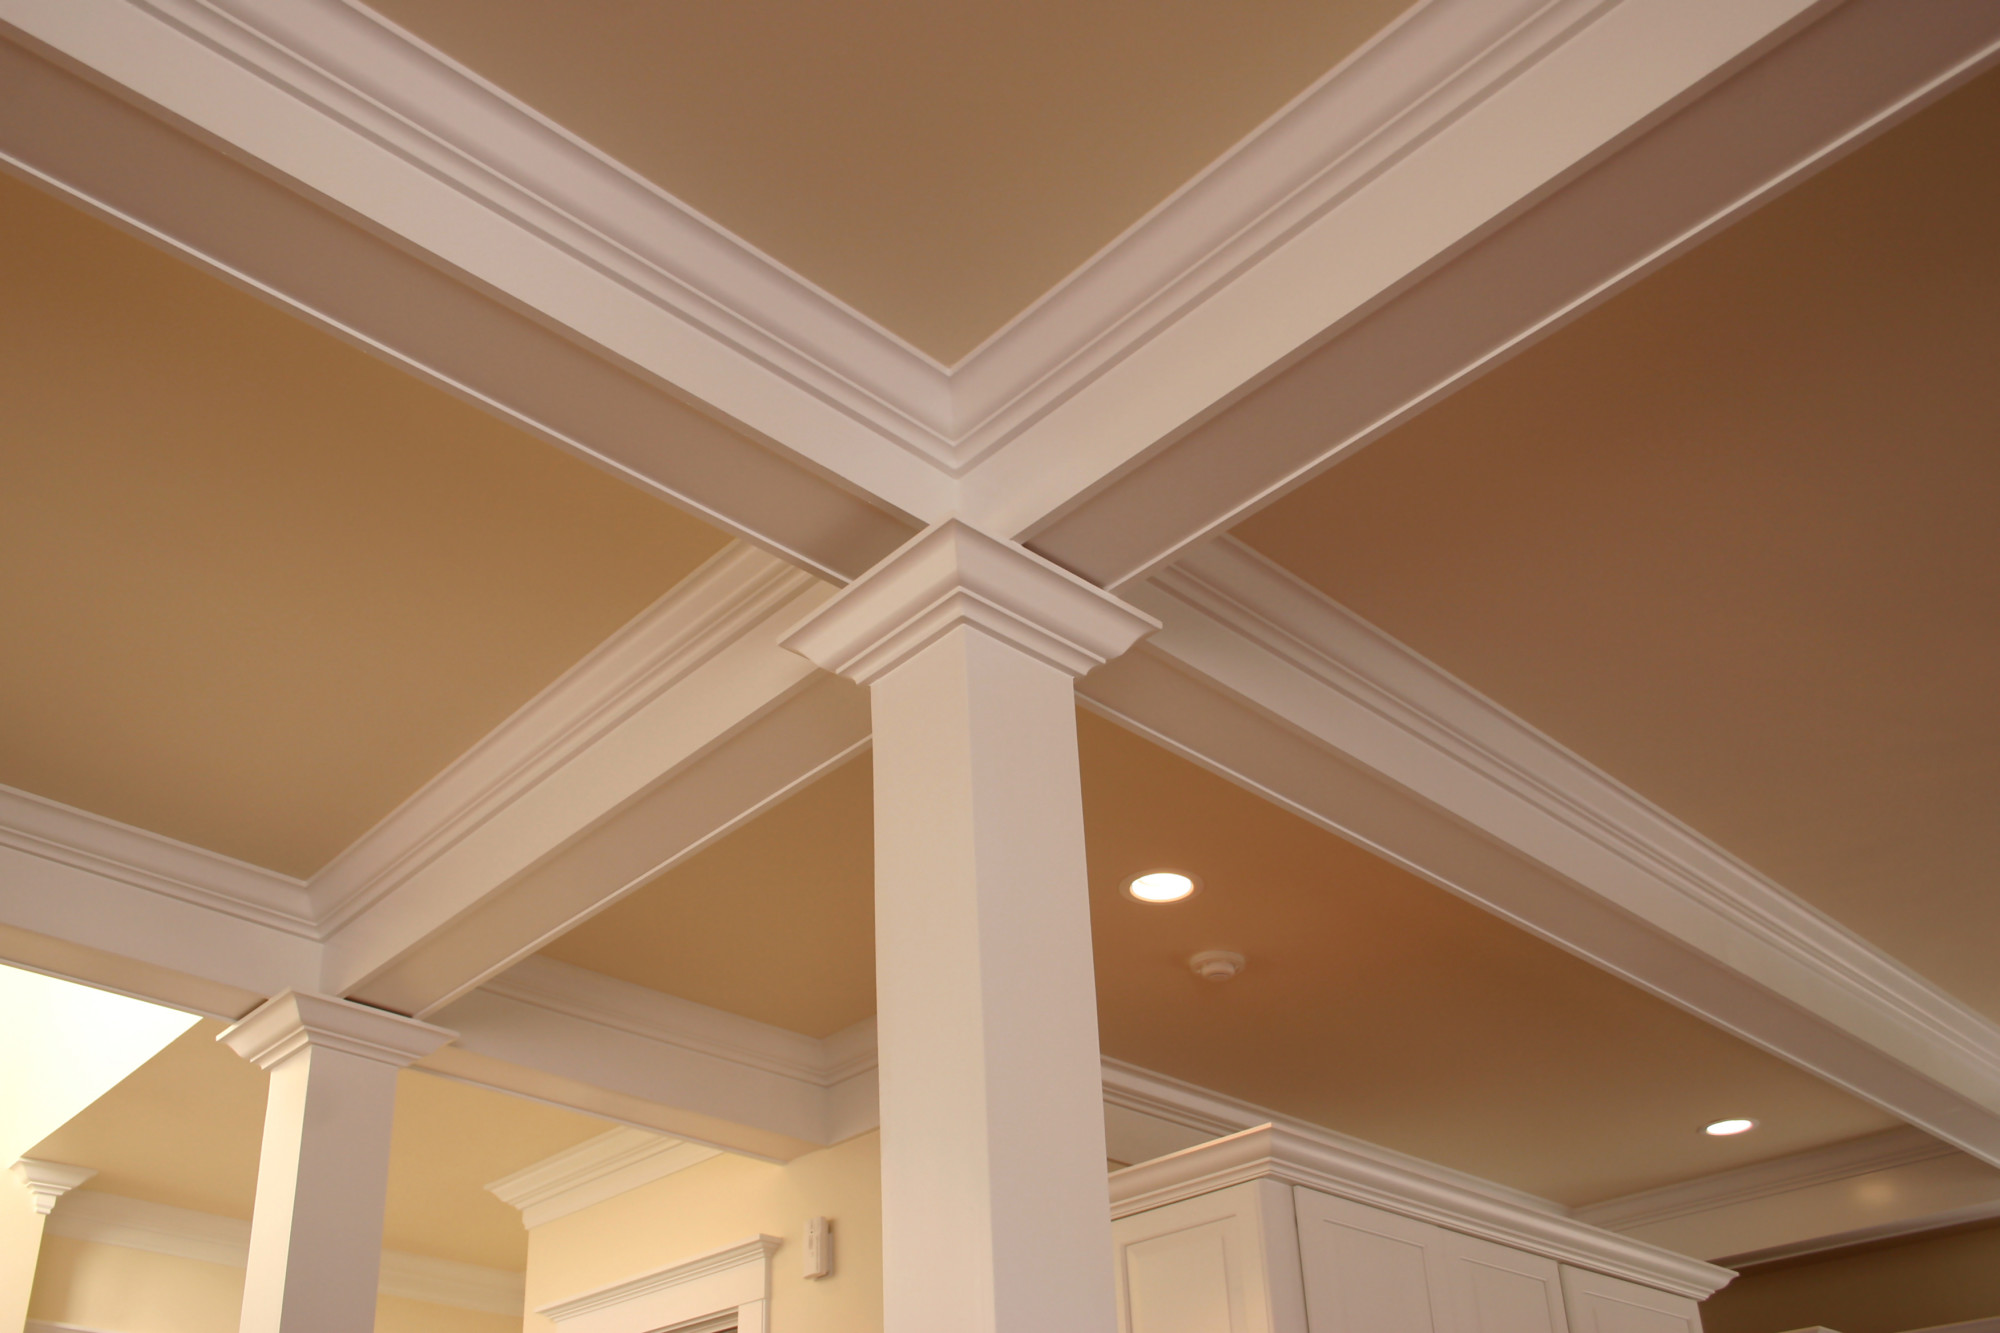
Crown Molding
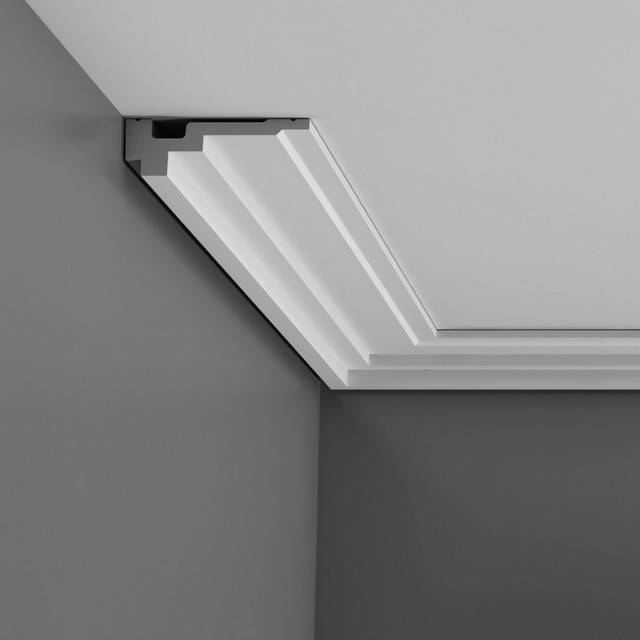
Almost everyone knows crown molding. Its purpose is to cover the connection between the wall and the ceiling. It can be simple or ornate, the choices are endless. It is, however, the hardest molding to install. Below is a tip for DIYers to make the process easier.
Did you know crown molding maintains room height?
Baseboard, Also Called Skirt or Base Molding
Baseboards are the molding that connects the wall to the floor. Many consider it plain but can be spruced up with Plinth Blocks and Rosettes. It adds a richness to the room, especially when combined with crown molding.
Picture Frame and Chair Rail
Picture frame molding is applied 7-9 feet off the floor wall. It allows artwork and frames to be hung without nails.
Picture frame molding is used as an accent on walls. It can divide large or long walls into even sections.
It is best when it combined with crown molding and is typically 1-2 inches thick.
Chair rail molding can work with picture frame molding or can be used as a stand-alone accent.
Stand-alone chair rails are typically horizontal and placed approximately 32 inches from the floor. After the chair rail installed, place wainscoting below it or install the picture frame grids above it.
Types of Decorative Moldings
Below are some of the many types of decorative moldings, and they can be used as Crown Molding or Baseboard.
Egg-and-dart molding
Oval egg shapes, modeled after a Greek Ornament, alternate with V-like darts to create the egg-and-dart molding.
Dentil Molding
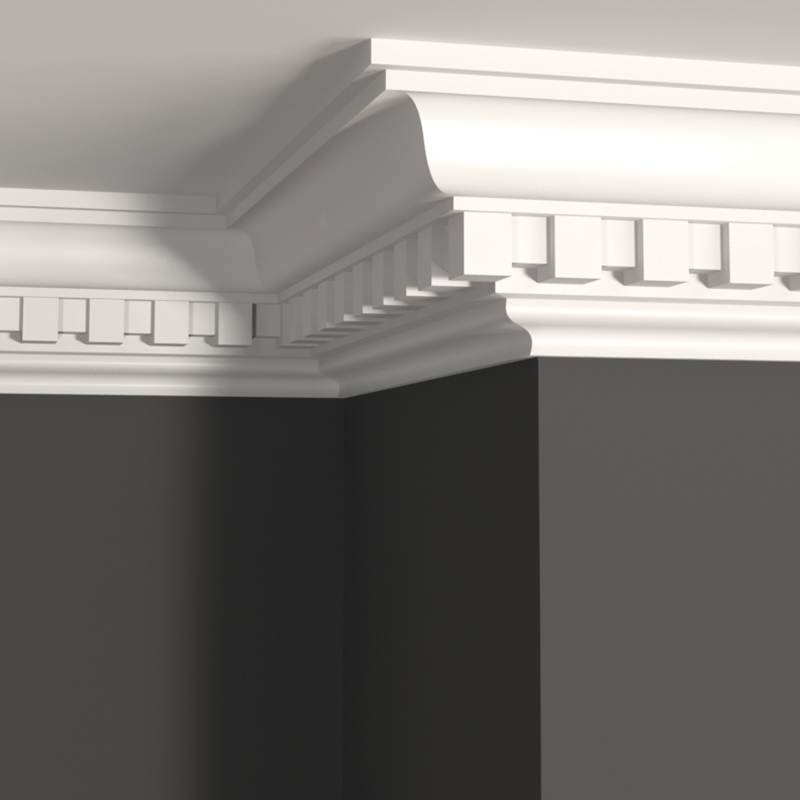
Dentil Molding is ornamental and consisting of small, evenly spaced blocks in a repeating pattern. This type of molding is seen most often in historical homes.
Bead and Pearl Molding
Both of these types of moldings have a row of small, symmetrical spheres paired often with other designs. You see this type of molding in crown or chair railing.
Now that you understand some the different types of molding and where to place them. Read on to learn about installation.
Installing Architectural Moldings
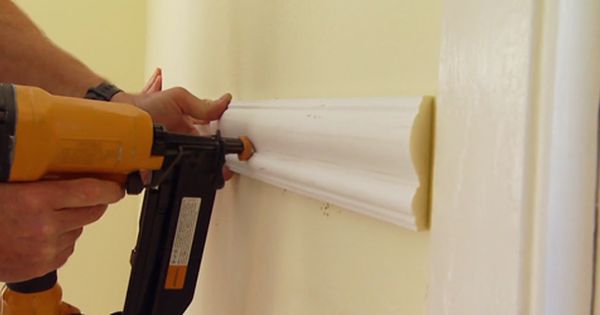
Moldings can be applied with nails, adhesives or both. SpeedFlex 270-5 is an adhesive formulated for architectural application, look here if you need more information.
If you are using nails ideally you would like to drive the nails through the molding and into the studs. Nail spacing should be 8 inches apart.
Using both nails and adhesive adds stability to your attachment.
Installing Crown Molding
This is one of the most difficult moldings to install for the DIYer.
Pros measure the molding to the right length and then use a miter saw to cut to the molding at an angle. This angled cut is then joined together in the corner. Because it is a precise cut, it can be tricky.
To simplify application use crown corner blocks. Nail the blocks into the corners, then cut the molding square on the ends and nail it to the wall between the blocks.
This is a simple DIY hack that makes things easier for everyone.
Installing Base Molding
Because of the simplicity in a base molding its self, it is easy to install.
Measure the distance from the wall to wall on the floor. Use the inside corners as your endpoints. Cut the inside corners with a miter and the fancy side facing you.
On an outside corner use an outside miter.
Challenges with doors openings. One solution is to install a plinth block at the bottom or top of the door opening.
The casing molding is nailed to the doorjamb and runs up the wall to the plinth block.
Note: A plinth block is a rectangular piece of profiled wood.
A rosette can be placed on the blocks at the top of the doorway for more impact. If you use them to place a rosette at the top on both sides of the doorway.
Installing Picture Rail Molding
Installing picture rail molding can be done in several different ways. If you are using it the length of the wall, it installs much like crown molding.
If you are making a frame, it should be mitered then connected at the corners.
You can draw out grid patterns, use horizontal sections to separate long hallways or walls.
Need More Inspiration?
Now that you understand architectural moldings, what room of your house will you tackle next?
If you still need ideas or want to look at some of the other types of architectural elements browse through the rest of our blog for some more inspiration.


