
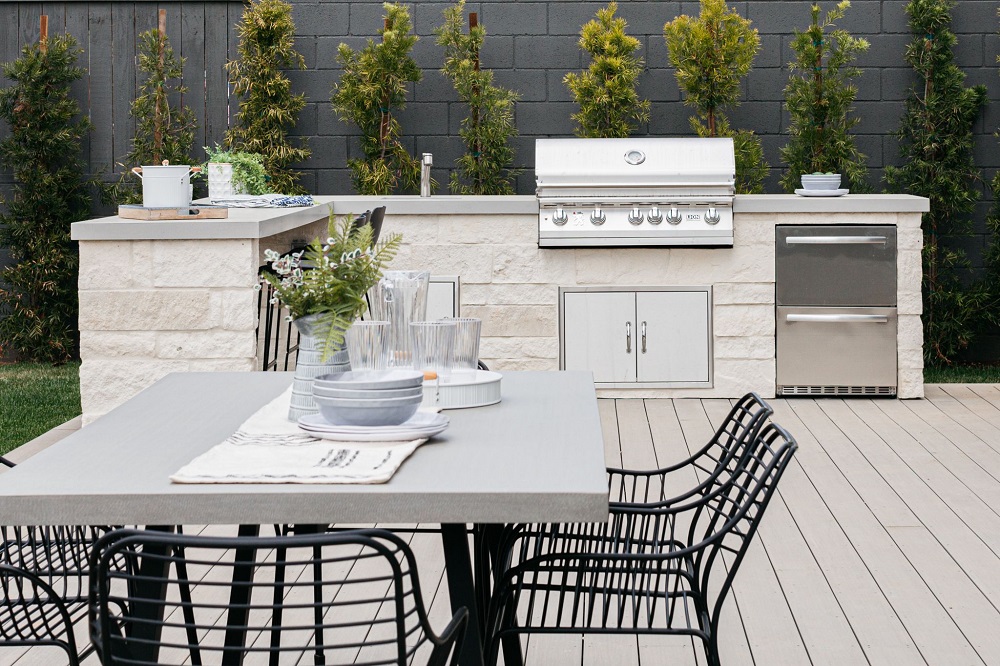
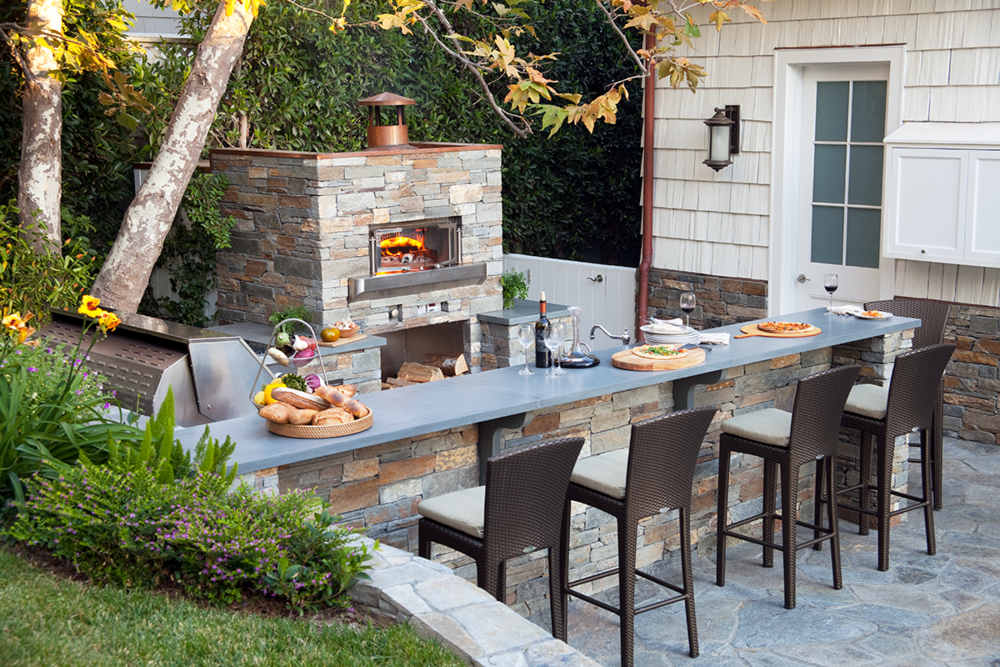
Individuals who desire an outdoor kitchen often opt for a grilling island. This island provides an area to prep foods to cook outdoors and provide an area for high-top seating. How can a person build an island for a grill? What does the process involve?
Planning and Preparation
The following guide for building an outdoor kitchen outlines each step of constructing this feature. However, it all begins with planning the outdoor space. Determine the size and layout of the island, keeping in mind experts don’t recommend stand-alone grills in this type of structure. Choose a grill designed for built-ins, and recognize built-ins are not appropriate for use on a wood deck.
Gather Tools and Materials
Always gather tools and materials before beginning any work on the grilling island. It’s frustrating to start a project only to find you need another tool or item and it’s necessary to make another trip to the store. By gathering everything before the project starts, the issue becomes less of a concern.
Lay Out the Materials
Once you gather all items, lay out the materials. Position the grill in the desired location and create an opening for the refrigerator and other appliances included in the plan. Leave enough space to slide the appliances into position.
Measure and Cut the Materials
Measure twice and cut once. Experts recommend this step, as putting inaccurately measured materials together once they are cut is impossible. Dry assemble the pieces as you make each cut and confirm they fit together properly. Use the appropriate safety gear when completing this step to ensure an injury doesn’t derail the project.
Assemble the Frames
Assemble the frame, making certain all pieces remain square. When assembling each piece, verify the appliance fits into the space. Furthermore, make certain any appliance that requires adequate airflow to operate properly has this airflow.
Choose a Countertop
Select a countertop and install it. When doing so, ensure the countertop material will withstand the elements and be easy to clean. Account for any cladding and overhang when measuring the countertop to ensure it fits properly when installed.
Clad Exterior
For a finished look, clad the exterior of the frame. Consider whether the grilling island needs protective sheathing, as some materials require this additional step. Once this step is complete, it’s time to install the grill.
Grill Installation
Slide the grill into its final location. When doing so, avoid crimping any exterior lines. The grill front must sit flush with the face of the island. This guarantees there is adequate airflow behind the grill when it is in use.
Install Other Appliances
Install other appliances included in the grilling island plan. Verify the various appliances have adequate space around them. For instance, a refrigerator needs adequate airflow and a trash bin must easily slide in and out of its selected location.
Test the Grilling Island
Now the fun begins. Make your first meal using the outdoor grilling island. Homeowners often talk of how amazed they are with the finished results. The food simply tastes better because you cooked it on a grilling island constructed by hand.
Many homeowners find this process overwhelms them. If you fall into this category, don’t give up on the idea of having this outdoor feature on your property. Reach out to a professional outdoor kitchen installation team. They will walk you through every stage of the planning process and help you construct the perfect outdoor kitchen for your needs.


