Portable gas stoves are critical pieces of cooking equipment in that they deliver clean cooking outcomes in locations that are far detached from the mainstream. Nonetheless, they are also potentially dangerous and have hence to be handled with care. Knowing the procedures to follow to actualize this end is definitely a bright thing to do.
We have prepared this guide wholly to let you know how to use a portable gas stove. To do this, we have outlined the steps to follow from the start through to the finish. This is in line with our core mission here at Family Axis to enrich the lifestyles of the family and those who dwell within their households.
HOW TO USE A PORTABLE GAS STOVE
Step I: Place the gas stove atop a flat surface
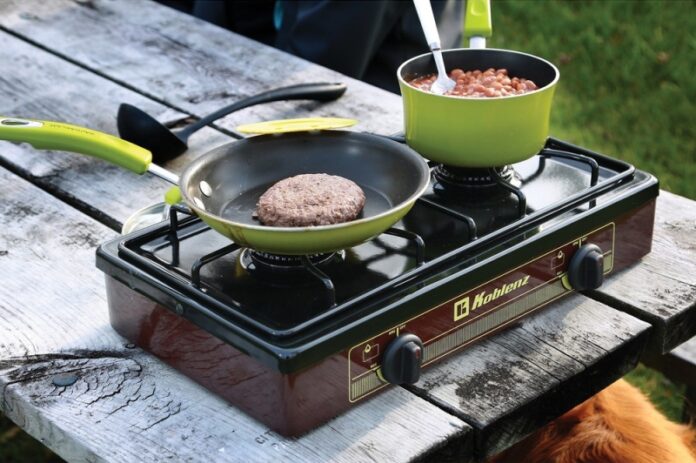
First and foremost, find a spot, typically a flat surface on which to place the gas stove. The purpose of the flatness is to minimize fidgeting and the possibilities of accidents arising with use later on. If possible, find a wooden table to do the placement. In case that cannot happen, find a gentle terrain to mount the thing.
Step II: Position the pan strategically
Now, move to position the pan strategically. Start this by removing the pan support from the top of the stove. Overturn it in order that it faces upwards to be able to hold your pan. It is imperative that you do this due to the support that your cooking cutlery ought to receive thereafter.
Step III: Connect the gas cartridge to the stove
At this stage, you have to connect the gas cartridge to the stove. To do this, open the cartridge cover that is located on the stove. Thereafter, remove the lid that is atop the gas canister. Then, slot the gas cartridge into the stove gently. Be sure that the two match to minimize any possibilities of the gas leaking upon deployment.
Step IV: Check and confirm the connections
Check and confirm the connections to see to it that they are tight and safe. To accomplish this end, you have to hold the connections firmly in place as you press the cartridge stop lever down hard. This way, the gas canister will also slot tightly in the place that is set aside for it.
Step V: Ignite the stove
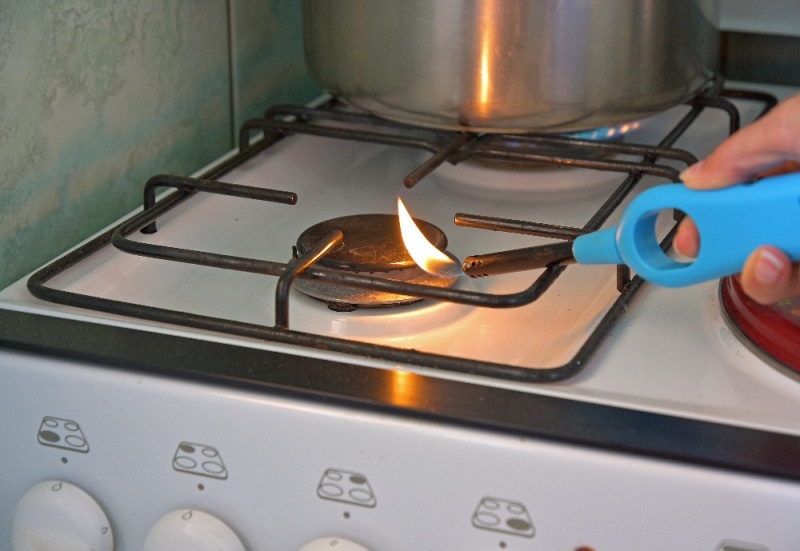
This forms the core of the entire exercise. It is at this stage that you ignite the stove. Turn the control knob fully to the left-hand side of the stove. Do so gently until such a time that the stove exudes a clicking sound and then lights the fire. You may have to repeat the entire exercise a couple of times until it generates the desired end results.
Step VI: Adjust the intensity of the flame appropriately
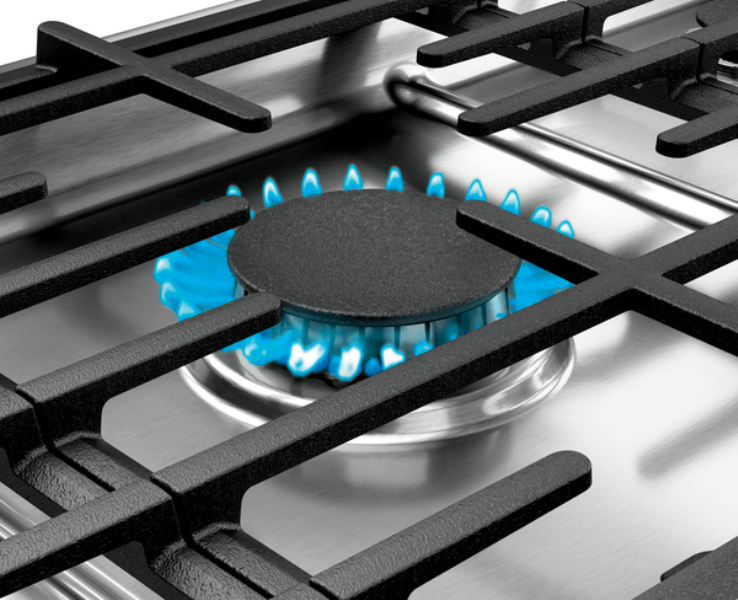
You should now adjust the intensity of the flame appropriately. This requires that you turn the ignition knob to the left slowly and steadily. As you do so, note the brightness and the intensity of the flames. Persist in doing so until such a time that the flame is as hot as your liking or desired end.
Step VII: Cook your food
Having set the desired level of heating intensity, you should now move with haste and prepare your foods. Remember, gas costs money and that prolonged exposure is likely to put your resources to waste. You are asked to refrain from using kettles or pans that are larger than the stovetops.
Step VIII: Turn off the stove
After you are through with your cooking, you should now turn the stove off. Return the knob to the ‘off’ position. Once you are done with that, lift the cartridge lever to the unlock position. Press hard and tight to see to it that the closure is leak-proof and unlikely to discharge any gas out.
Step IX: Disconnect the has cartridge
That should not be the end of the matter. Go ahead now to disconnect the cartridge. Before making the disconnection, wait till the top of the stove has cooled down completely. The exact way in which you make this disconnection depends largely on the make and the instructions of the manufacturer.
It hence pays to read the explanations keenly to be able to find out how to go about the issue. Follow that by replacing the red protective cap that exists atop the gas cartridge. This is to prevent further access when the item is not in use.
Step X: Pack and store the gas stove
After you are through with use, you should now pack and store a gas stove. This is something you do as a precaution, just in case you might forget it. Place it in the box or carton in which it was initially packaged and used to transport it to the campsite. You are now good to go!
SAFETY CONSIDERATIONS
We have already stated that gas stoves are potentially dangerous and explosive. Thus it is not enough to simply know how to use such a stove in and of itself. You must also know the safety precautions to adhere to in order to deliver equally fulfilling outcomes:
Use the right size of cookware. It should never extend beyond the hole that is allotted to the canister compartment.
In case you have to use two or more stoves at a time, do not place them too close to each other as this may create excessively high heat output.
Always monitor the progress of your cooking with a keen eye of attention. Remember, gas is potentially explosive and well able to trigger fire outbreaks.
See to it that you use not the stove in a place that is fully enclosed. This is to allow for easier evacuations in times of emergencies and to minimize any damages that may be inflicted by explosions if and when they arise.
Keep the gas stove out of the reach of the children. Children, being restless, will easily knock them off not to mention putting themselves in the line of danger.
CONCLUSION
Our look into how to use a portable gas stove comes to an end there. We now leave it to you to implement the insights we have furnished you generally. That can only mean you reading through the explanations we have given keenly before setting out to implement the same. Have you found our guide insightful? Let us know in the comment’s section hereunder


