
A Wooden Fence Garlands A House
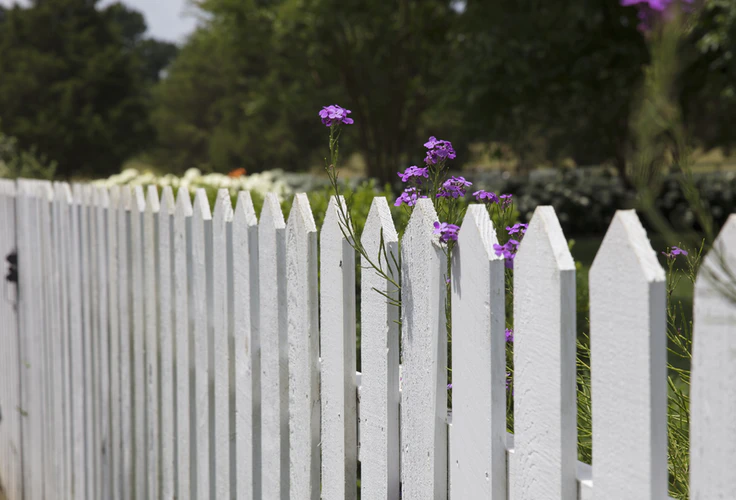
When you think of a fence, a wooden one always comes as the first solution. Apart from making your lawn look classy, they can also provide many other benefits. It can be used as a cover for the lawn from strangers so you can have some privacy if you decide to add a little pool or trampoline. It can be used to deter burglars.
Wooden fences from all times have been a popular choice for homeowners as well as company owners. With proper maintenance, wooden fences have been known to last long for years and also wood being such a sustainable material it is easy to recycle. This makes it a more popular choice for people who want to use more environmentally friendly materials.
Top Ways To Repair a Leaning Wooden Fence
Though wooden fences are easy to install, the most common problem is that they often start to lean out from their original place as time passes. There are many reasons for that to happen, like:
- The pilot holes have become too shallow
- The wood on the lower part has gone rotten
- The materials used while putting up the fence need to be refreshed
- The fence was not properly installed at the beginning
- Severe weather conditions like a storm or heavy winds
- It has started to lean naturally
No matter what the cause is, it is necessary to set it right. If not straightened at the initial stage, the leaning fall could further crash completely costing more time and money needed for repair. We have put together 6 easy and quick steps you can take to straighten your fence:
Step 1
Put down a tarpaulin near the spot of the fence you need to work on. Remove the soil around the post which is leaning and put it on the tarpaulin so it doesn’t get messy.
Step 2
Check the material used at the foot of the post. If it is cement, then you will need a stronger tool to break it down and dig it out.
Step 3
Also, check if your fence post has started to rot. This is more visible once you dig out the footing of the post as that is where mostly it starts to rot. You can check by poking the footing with a pointy object. If it sinks in easily, it has definitely gone rotten
Step 4
Follow this step only if you see the footing has gone rotten. Check if you can just cut the part out and fill it with cement or the whole post has to be replaced. In case you decide to cut the footing, make sure to add a coat of preservation layer on it.
Step 5
Bind your fence in a way that it stands straight. Then nail the stakes in the ground. Pour cement in the footing area which you dug up. Cement is recommended as it lasts longer and gives a firm grip.
Step 6
Top up with some soil to give it a more natural look. Once dried, remove the support braces.
A regular check on the footings of fences can prevent them from leaning or falling completely. Also, keep an eye on pests that could corrode the wood. Once-in-a-while pest control done is for the fence, garden, and your house too. A fence provides natural beauty to your house, so make sure you do everything to keep them intact.


