
Imagine looking up at your ceiling before a good night’s rest, or right after waking up in the morning, only to witness lumps and bumps ruining its aesthetics! There can be very little in the world more annoying than a Popcorn Ceiling. However, you’re not the only one who had to face these architectural abominations; back in the 20th Century, almost everyone had to deal with them. While you’re wondering what spray paint mistakes to avoid, to begin with, you might also want to learn other correct ways to remove a Popcorn Ceiling! Previously, it had been a sought-after type of ceiling finish due to its unique appearance, likened to freshly-popped popcorn, and other benefits, such as affordability and improved sound quality.
But, as time passes by, a considerable number of issues associated with popcorn ceilings arise. For instance, this textured ceiling can be a great magnet for dust and other debris. It discolors and disintegrates over time, with white flecks falling from the ceiling. It also adversely affects the overall lighting of your area. With these things in mind, you’ve certainly thought about getting rid of this ceiling from your home with the help of professionals specializing in popcorn ceiling removal in Toronto or within your area.
Testing Asbestos before Proceeding:
Most popcorn ceilings were manufactured with asbestos. But, it’s now considered a hazardous substance due to its potential to cause certain cancers, like lung cancer. Because of such risks, one needs to test their ceilings for asbestos before beginning the removal process.
Back in the late 20th Century, Asbestos was often used by the builders to help control sound-waves, and reduce the risk of fire. However, it was found out that excessive exposure to this substance may not be good for one’s health.
Therefore, to examine your walls for asbestos, you must consult an expert, or utilize a “Do-it-Yourself” kit, then send the samples for testing in the laboratory. However, if it turns out that your ceiling does contain asbestos, it’s better to leave it alone or hire professionals who can remove popcorn ceilings with asbestos. That way, you can protect yourself and your family against health hazards while getting rid of the ceilings.
Assembling a Proper Set of Tools:
Once the ceiling is tested negative of asbestos, it’s time for you to assemble your tools and finally proceed with your work. Luckily for us, all we need is a basic set of tools; nothing fancy in our arsenal. Like the tools needed for removing mold from popcorn ceilings, you should have a pair of safety goggles and a dust mask in handy, a ladder big enough to help you reach the ceiling effortlessly, painter’s tape, a garden spray, some plastic sheets or drop cloths, and a wide-putty knife to help scrape off the Popcorn Ceiling! Without proper tools, there is no point in pondering about what spray paint mistakes to avoid.
Protect yourself, the Walls, and the Floor:
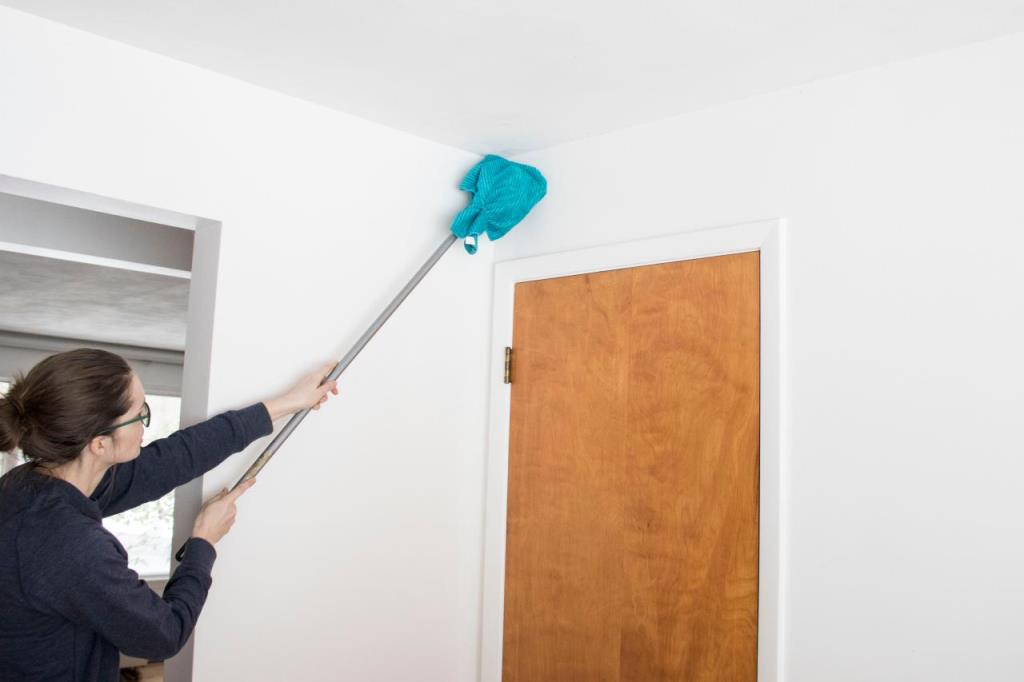
Scraping off the ceiling can turn out to be an extremely messy job, if not handled carefully. You need to make sure that you either have a bunch of plastic sheets, or several drop cloths in handy before progressing. It would be best if you keep all your furniture outside the room while you are removing the annoying popcorn ceiling. The walls must be sheeted carefully with the help of a painter’s tape, and you must keep your eyes and your nose covered to avoid the inhalation of any toxic residue. Since the job utilizes water, electrical boxes and circuit boards must remain covered at all times.
Spraying Water on the Ceiling:
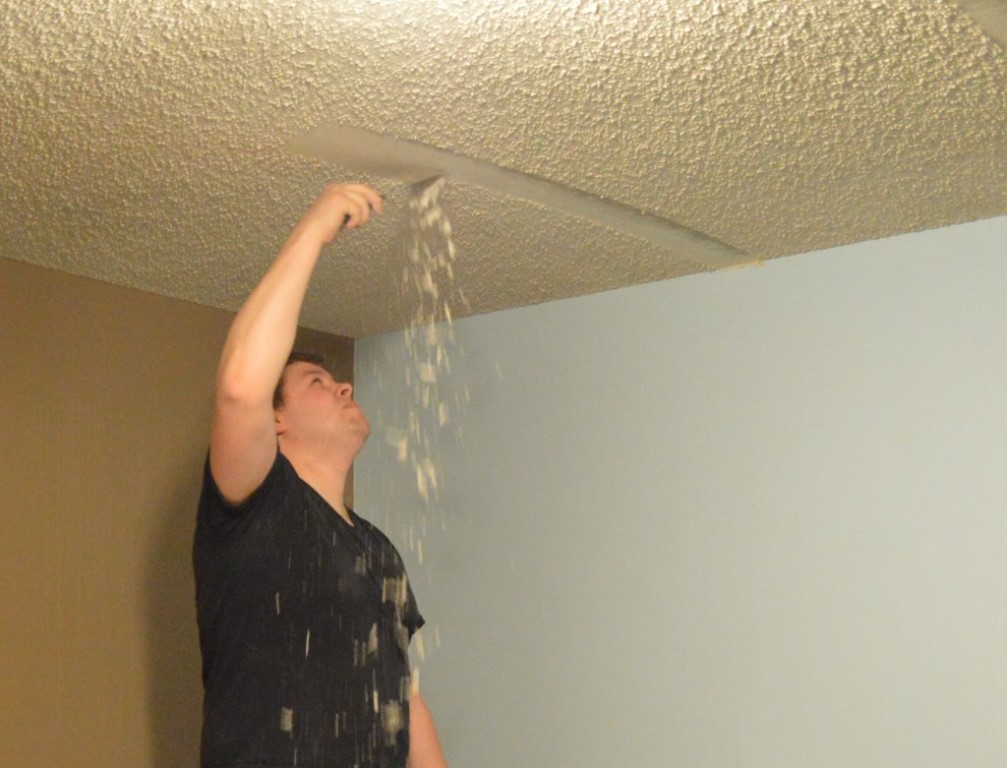
Water must be sprayed with leniency to avoid soaking. It would help if you let the water rest for 15 minutes and then proceed with gently scraping off the Popcorn Ceiling. Make sure that you have divided your work into sections, dealing with one small segment at a time. Scrape carefully until the texture is completely removed.
Sanding, Priming, and Painting:
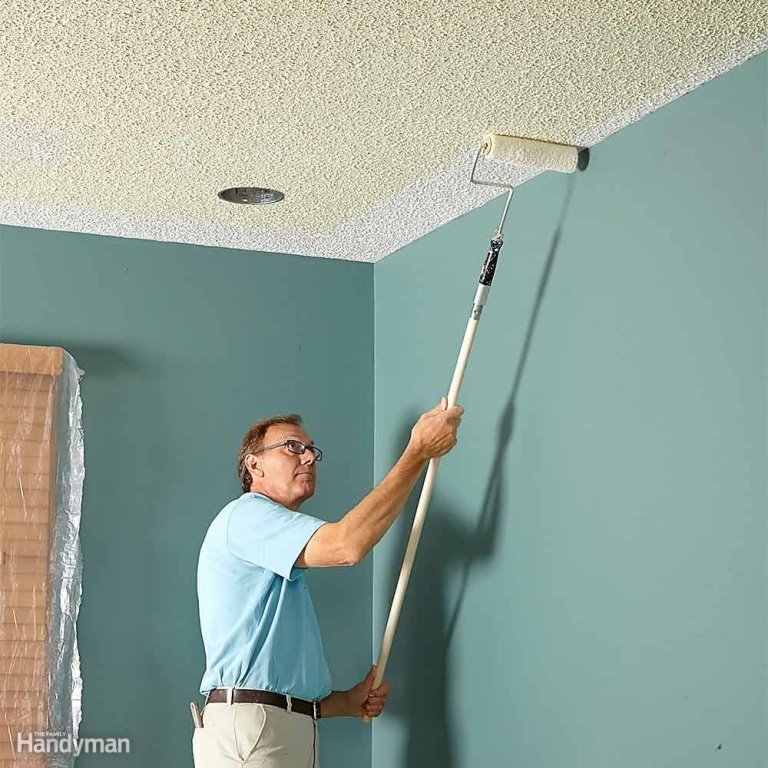
Finally, all that is left for one to do is careful sanding, priming, and subsequent painting, on the now flat ceiling. However, if you do spot any damaged drywall tape, ugly gouges, and other damages on your roof, you must fix it with a joint compound before beginning the sanding process. This process can also help you spot minute imperfections in your ceiling, such as visible screws or joints, which you will have to cover. Carefully apply an even coat of spray paint, and you are done!
Bottomline
Instead of depending on someone else, why not solve your issues yourself? You are the best care-taker for your home. If all the above procedures are followed with caution and care, your ceiling will be imperfection free in no time at all! However, if you feel like the removal process can be best handled by professionals, don’t hesitate to seek help. They know exactly what to do to remove the popcorn ceiling in a more efficient and safer manner.


