
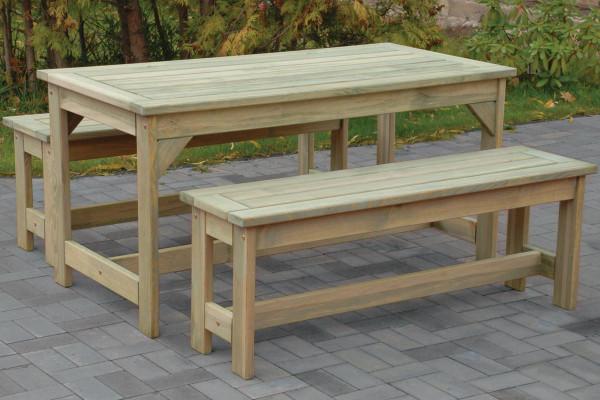
Garden furniture is furniture that wears out fast because they are exposed to many external elements such as the sun’s rays and heat, rain, snow, wind, and others. In this regard, it is right to always give the right amount of care to ensure the long life of garden furniture. If you’re looking to paint your old wooden garden furniture but are unaware of where to start, this article will provide you with all the things you need to know.
Steps to follow when painting old wooden garden furniture
Now painting a piece of old wooden furniture is not as easy as brushing the wood surface with paint. You’ll have to make sure you’re doing the right thing to avoid damaging the furniture and also to make sure that you’re making the furniture look better – not worse.
Choosing the right color
The first step to consider when painting any wooden furniture is to choose the appropriate color. When considering the color of the paint, you may want to refer to the finish of the wood. At times, wooden furniture is better off with its natural color. When trying to maintain the natural color of the furniture, you can simply opt for a light, dark, or clear color finish. For times when you want to maintain the natural old color of the furniture, you can opt to use oil or varnish when painting
Use the right tools.
Among the right tools to use is the right size of brush, rollers, or spray for painting wooden furniture. Even paints have many varieties and one type can only be used on specific materials. You need to make sure that you’re using the right tools or equipment to avoid damaging the furniture. The use of the right tools also makes the job easier, faster, and a lot less messy.
Furthermore, there are a few kinds of paints to choose from according to purpose. These kinds of paints include oil, varnish, stain, or paint.
Sanding and priming
Before you can start to paint, make sure that the wooden surface is sanded properly. This is to avoid any rough surfaces which can cause irregularities on the paint when finished. Sand the wooden surface until the desired smoothness is achieved. Enabling a smooth surface before painting makes it easier for the paint to be absorbed and applied to the wood.
Once the surface has been sanded, apply a first coating or primer to the wooden surface.
Painting
Now when it comes to painting, it is always best to start from the top going down. This is to avoid any runs on or droplets of paint over other parts of the furniture. This makes painting a lot faster and less messy.
Also, depending on the size and required amount of paint to be used on furniture, you can either use a roller, brush, or spray. Rollers are used when painting wide surface areas. While a brush can be used for regular-sized furniture, sprays can also be used when looking to apply a thin or thick amount of pain on a particular area or part of the furniture.
Finishing and drying
After painting the furniture, make sure to perform a last inspection before drying the furniture out in the sun. With this, it is advised to place or position the furniture where it can be left to dry under the sun. Even after the furniture paint has dried out, it is to check if all parts are thoroughly painted or repainted.
Our final thoughts
Now painting furniture is pretty much just like painting anything else. It seems to be easy if you look at it; however, it becomes complicated and tedious as you try it. What’s important is to read the ingredients as well as the steps labeled on the paint. Furthermore, if you’re looking for consistency when applying paint, make sure to practice with the brush or roller before doing it. This is to ensure the uniformity of the paint on the furniture surface.
Likewise, always make sure that the work area is clean. If you’re trying to paint the furniture on grass, make sure to cover the grass or lawn first with cloth, wood or paver where the furniture can stand.


