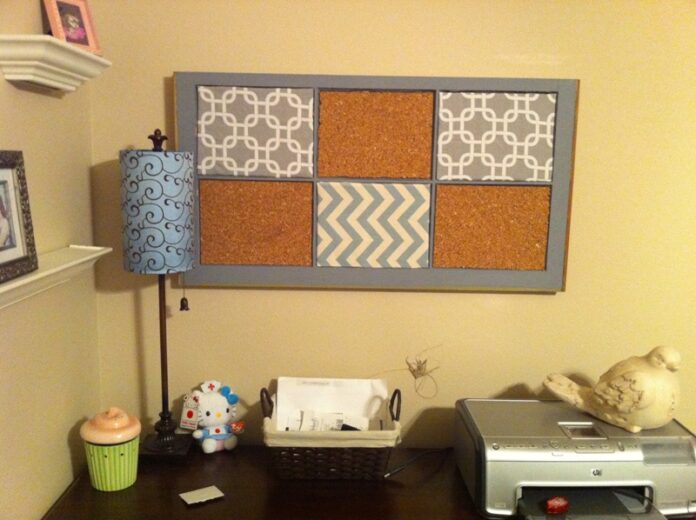
The corkboard frame has become a fashionable need nowadays. People make it for having their regular work schedules or study materials, and so on. Window frames are more beautiful and effective. But to make it decorative and perfect, you have to learn how to build a cork board frame for window first.
How to Build A Cork Board Frame for Window?
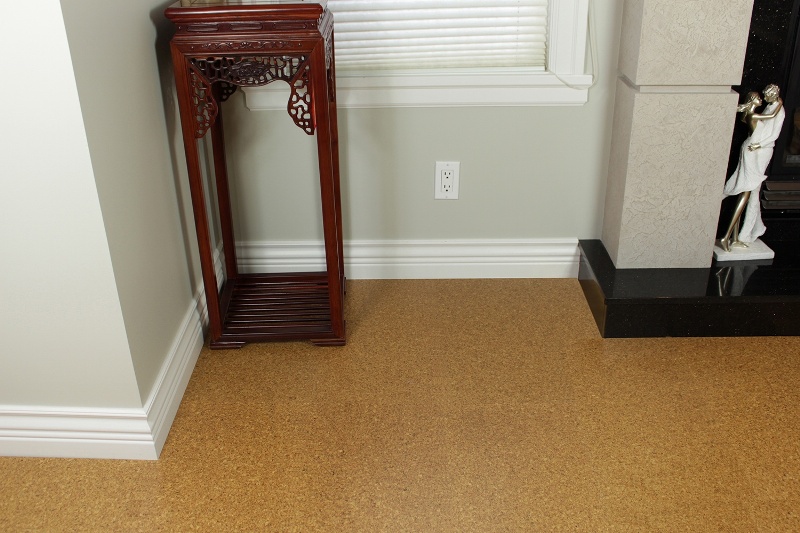
Chassis liege is a board that consists of compressed cork. They are very light in weight and easily resistant. Corkboard is also known as a bulletin board.
It is used not only for making a frame but also for creating partition instead of a wall. They are very much budget-friendly. So anyone can easily afford it. Moreover, those boards do not cause any pollution to the environment like polybags or things like that.
Building a corkboard frame for the window is quite easy. You just need to follow some rules and measurements to make it properly. Here goes the best process of building a big size corkboard frame for your window.
Basement for Cork Tiles
In order to make a corkboard for your window, you need a base of thin wood for making cork tiles. This the first thing you must do. A thin wood basement will provide you a more secure attachment of the cork tiles on the wall.
Although it is not mandatory, it gives you stronger protection. Because, sometimes, the heavy use of pushpins might make random wall holes in the window. As the wood basement is hung on the wall with screws, you just need to remove the screws to take it away.
For a big size corkboard window frame, you need three underlayment sheets of 5mm each. The sheets should be two by four feet. You have to exclude some portions from all the sheets to fill up the gap of 43” between windows.
For getting perfect measure, you can tie up the sheets together and cut them with a sharp saw. Now you need to attach them with the windowsill. You should use screws to attach them perfectly with the windowsill.
To be sure, you might check whether the screw has appropriately attached to the wall with a stud finder. Remember that the screws should be of maximum 2 inches.
Fixation on Wall
Now it’s time for the fixation of the cork tiles squares on the wall. But before attaching them to the wall, it is better to use the Loctite Spray Adhesive. This spray ensures a strong bonding between cork squares and the wall.
You can just spray the backsides of cork squares and glue them with the backing board on the wall. While fixing the cork squares, you might find that some partial squares need to be cut again.
If needed, you can just use a pen or pencil to mark the borderlines on the squares. Then cut them off with a regular scissor. Finally, fix all the partial and impartial cork squares sequentially on the wall.
If you love the natural wood or board color, you just keep it like this. But if you love to look at different colors, you can use colors on the squares. Almost the corkboard frame for a window is ready.
Decoration
Your cork board frame is ready to decorate now. You can decorate your corkboard frame depending on your taste, needs, and so on. You might hang up the news bulletin on the board. Regular work schedules or important study materials can also be there.
If you are a nature lover, you can add some natural elements made of paper or something like that. Literature and poetry quotations might be there. The decoration of a cork board totally depends on your own choice if it is for you.
If you make the frame for a child, you can decorate it according to their taste. After decoration, your board frame will look so pretty. It also enhances the beauty of your house. In the case of study purpose, the decorative frame can give you a soothing feeling for your mind and brain. It helps to improve your concentration also.
Conclusion
Now you know how to build a cork board frame for window. You can make a big size corkboard frame following the measurements mentioned above. If you want, you can change the measurements to make your frame big or small. Finally, decorate your frame based on your likings and disliking.

