
Above ground swimming pools are good for residential properties with limited space. Moreover, if you are a tenant you can install the pool as a temporary amenity. The installation of above-ground swimming is one it’s most attractive properties. It’s a quick and simple process that some owners opt to do as a DIY project. This begs the question, how long does an above-ground pool installation take? The answer lies in the steps taken to install the pool.
Step 1: Choose a Location
Before getting any tool or making purchases, you must choose a location for your pool. The location determines the level of preparation you will undertake. Since above ground pools are installed on flat, level surfaces, the further your location is from this specification, the more preparation you’ll have to do. Go for a location that is close to a water source, next to power supplies, visible from the house and away from overhanging trees. Once you have settled on a location, mark it. Use spray paint or lime to demarcate the perimeter of the pool. Give a one foot allowance round the perimeter of the pool. Location selection initiates installation and only takes minutes.
Step 2: Clearing and Levelling
Depending on your council laws you may have to call a technician to mark your property for underground utilities since you might be doing some digging. Mark out the pool dimensions on the ground and give a one foot allowance. Remove grass and uneven top soil within the marked perimeter. Levelling requires tools, you can’t eyeball it. You need a site level, line or transit level for accuracy. Correct uneven surfaces using picks and shovels. The rule of thumb in levelling is to lower higher surfaces to meet low spots rather than filling low spots to match high surfaces. Clearing can take anywhere from hours to days depending on the characteristics of the pool location
Step 3: Set the Base
Once your pool floor area is level, you can bring your floor material into the marked area. Sand, stone dust and vermiculite are among the popular floor materials used in above ground swimming pool installations. Lay approximately 2 inches of floor material around the perimeter of the demarcated area where the wall of the pool will sit. Level the floor material and use a compactor on the surface. Step 3 can be accomplished within a day
Step 4: Lay Down the Bottom Track, Pin it and Finish Up the Floor
The wall unit of the pool sits on a track that covers the perimeter of the prepared surface. Connectors join the track and posts.Once everything is in place, long nails and pins are used to lock the track in place. Now you can lay floor materials inside the demarcated pool area. Level the surface and leave some sand and the compactor within the demarcated area. If you are working a full day, step 3 and 4 can be combined and finished within the same day
Step 5: Install the Wall
Unroll the wall and attach it to the connectors on the track. A steel rod is placed at the starting spot to support the frame. The wall is firmly fitted on the groove round along the track and bolted together. Posts are installed on top of all the connectors to secure the structure. Wall installation involves a lot of heavy lifting and can last up to a day
Step 6: Finish the Base and Install the Liner
Step 6 only takes a day. Push the floor material against the wall to cover the base completely. Add more floor material and level the surface. Use the compactor to make the surface firm. Unroll the liner inside the pool and clip it around the pool. Appose the liner with the wall along the lower perimeter. Set the liner using a suction machine and move to the next step
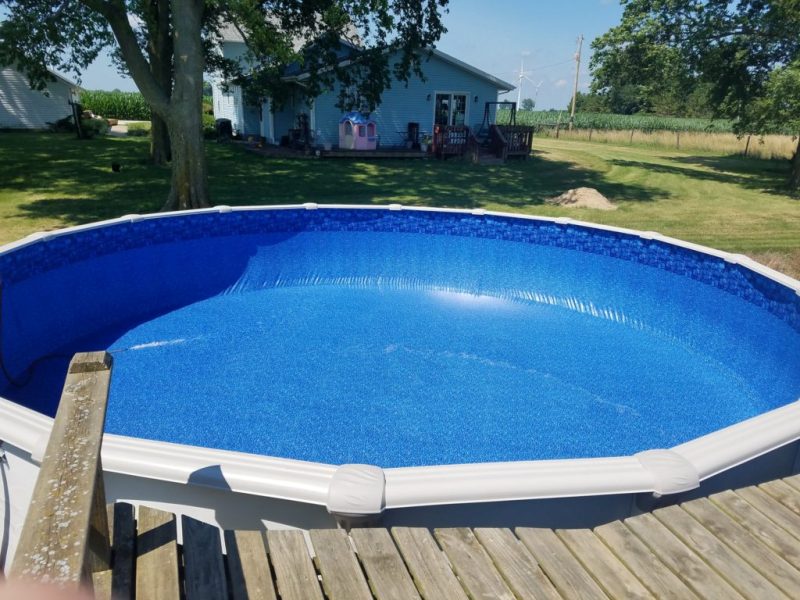
Step 8: Fill the Pool
The final step is filling the pool with water. You can also install faceplates on the wall at this stage. This step will only take one or two hours depending on your water pressure.
In conclusion, above ground pool installation can take 4 days to a week depending on site preparation, size of the pool and the type of pool.


