
Aside from word documents and presentations, we nowadays store a lot of image files. These can range from digital photos, infographics, and even memes that we find online. It all accumulates and takes up a lot of your storage as it may even add to the cluttered files in your computer. And no matter how much you want to keep things organized, your image files will keep piling up.
Luckily for you, there are ways to lighten up your burden. In this article, we will give you some of the best techniques to manage your image files. Check out clipping path service provider for remove background, professional photo editing, retouching services. Let’s take a look at each of them.
1. Create an Album Using PDF
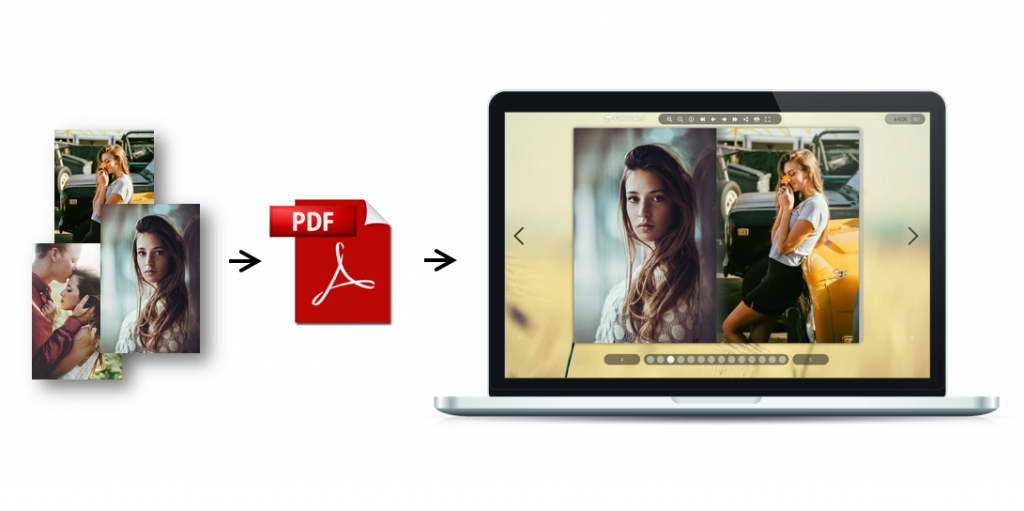
Imagine each of your image files as a printed photograph. Instead of keeping them in a box or leaving it cluttered in your drawer, it’s best to create an album to organize them. The same goes for digital images. You can create a digital album to compile all your image files. You can use an online PDF tool such as PDFBear to help you consolidate these files. It’s a free JPG to PDF converter that enables you to create a digital compilation of your images and make it look like an album.
To do this, you just need to upload all the images on the online PDF tool and it will be processed in less than 2 minutes. It will generate a new file that you can download and save on your computer. And most important of all, the quality of your images will be the same as the original file.
2. Create Your Own Naming Systems
One of the biggest reasons why most images are unorganized is because they are not labelled properly. Most of the time, people only use default filenames for their images, which makes it harder to organize their files. It’s also the same for folder names.
Make your files more organized by changing the filename of each file and folder. Let’s say you save pictures of your birthday celebration. You can use the folder name “My Birthday Photos” and use the filename “My Birthday Photo 1”, “My Birthday Photo 2”, and so on. In that way, it will be easier for you to identify each file without opening them.
3. Organize Your Files with Folders and Subfolders
Avoid saving or copying image files on your computer without a folder. Some users just keep all their image files on the “Download” or “My Pictures” folders. It’s best to create separate folders for each type of image and create subfolders to make them more organized. For example, you can have an “Images” folder on your computer. Inside the folder, you can create subfolders such as “Personal” and “Work” to separate each.
The key is to make sure that you copy or save each file to the appropriate folders so it will be easier for you to locate them when you need them.
4. Consolidate Using Filing Methods
If you want to be more technical in organizing your files, you can use the 5 methods of filing. You can file your images based on category or subject, alphabetical, numbers, places, and dates.
- Subject/Category – you can group your images based on the event or subject. For instance, you can use your project names, clients, and celebrations.
- Alphabetical Order – if you happen to have a lot of image files and it’s harder to group them based on category, you can choose to group them alphabetically. You can create a folder, for example, for files that start with A-J then K-T, and so on.
- Numbers – just like in alphabetical order, you can also group your images based on numbers if the filenames are saved in numbers.
- Places – the best example for this is if you work in an office with different branches. You can use a filename of your folders based on the location as to where the images belong.
- Dates – this is the most common and the easiest way to organize the file. By using the dates when the pictures are filed or taken, you can organize them more effectively.

5. Use Additional Storage
Filing your image should not be limited to storing it on your computer. Aside from making sure that you will have a backup of your files, using additional storage platforms gives you a bigger storage capacity. There are 2 types of additional storage that you can use.
- External hard drives – Since image files have bigger sizes, it’s best to use an external hard drive instead. It functions like a normal flash drive where you can plug and play on your computer and you will be able to access the file. If you happen to keep a lot of image files, you can even have an external drive for specific events or projects. In that way, it’s easier for you to file them.
- Cloud Storage – if you don’t like to use physical storage units, there’s always an option to use a cloud storage platform such as Dropbox, Google Drive, and more. It’s a web-based storage platform where you can save files such as images and be able to access them anywhere. There are cloud storage platforms that have a mobile app. If you want to have a more convenient way to access your images, you can choose this one.
Organize Your Image Files More Effectively
The key is to start with the basic details. Personalize the filename, use folders and subfolders, make use of the different filing methods, and create a backup file. If you want to convert your image files to PDF, choose a reliable online tool such as PDFBear. Visit their website to know more!


