
So, how to fill the floor with epoxy in 5 steps?
1. The first stage in any business is preparatory.
Calculate the floor area to know exactly how much resin you will need to work (Southernillinoisepoxy.com may help you). It is better to initially dilute a little more than then in emergency mode to dilute the uncovered area.
It is best to lay this floor on a concrete base. Pour the resin also on tiles, wood and other surfaces, but in this case, you need to take a closer look at the process of preparation and alignment of the floor. If the floor has old paint, it should be removed. If the floor is glossy, grind the surface for better grip with epoxy. Cracks and chips on the floor must be thoroughly fixed.
The humidity of the floor should not exceed 4%. If the concrete floor you have recently poured, it should take at least a month before you can move to the poured floor.
Before you start, you should sweep the floor, wash it with soapy water (to degrease it), protect the perimeter walls with film or tape, and leave the floor to dry for 12 hours.

2. Floor priming
You can use special epoxy primers or a base coat of epoxy resin of 1 mm as a soil. The second option is suitable if you have a flat concrete floor. Primer is applied in 1 or 2 coats according to the manufacturer’s recommendations. Use a trowel or rake. The time it takes for complete drying is also specified by the manufacturer.
When applying epoxy, use a roller or brush to walk around corners and seams, and for the main surface, use a crab or spatula. The needle roller will help to drive out air bubbles. The drying time is about 12 hours.
3. Preparation of epoxy resin
Do not forget that you must wear gloves, glasses and a respirator to work with epoxy!
The key to success in the preparation of the solution is a clear compliance with the proportions of resin and hardener. When mixing, there is a reaction with the release of heat. If you break the proportions, the epoxy may not harden, or harden too quickly that you will not have time to finish, or boil at all. Be sure to read the instructions carefully, use a measuring glass and/or scales.
After mixing the components in a bucket or a large pelvis, mix thoroughly with a mixer or drill for 4-5 minutes. A poorly mixed epoxy will not solidify.
If you want your floor to be colorful, add dyes or pigments to the solution, which are now widely available on the market. The main thing is that they are not water-based, as the epoxy is not water compatible.
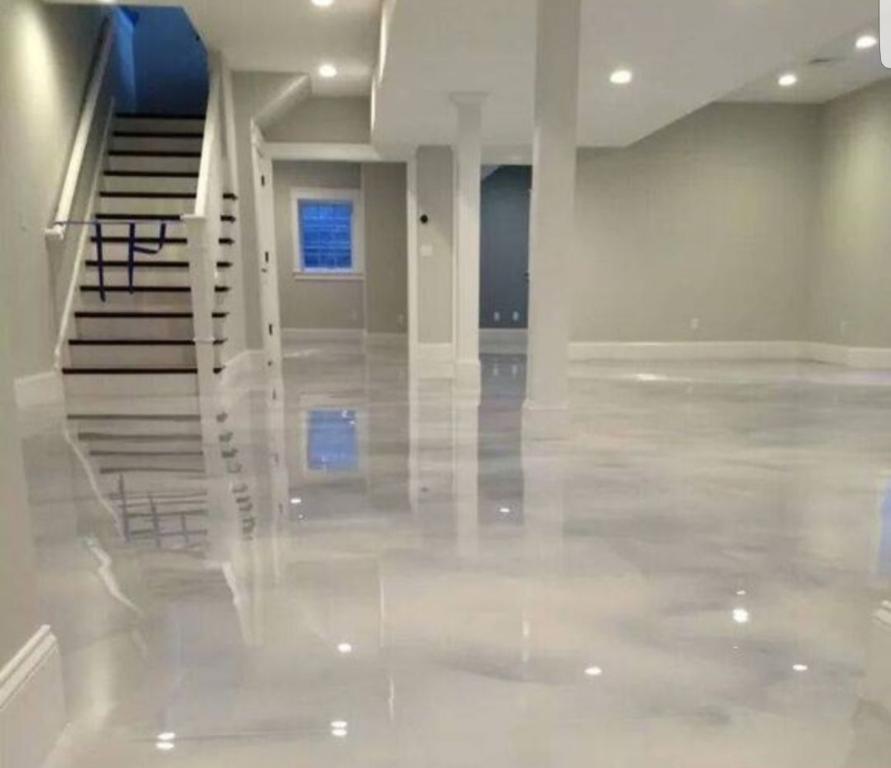
4. Pouring the first layer
Start at the corners and seams with a brush. Then pour the resin in the center and spread it over the floor with a needle roller or racquet. The thickness of the layer is usually 5-7 mm.
5. Pouring the second layer
Once the first layer has hardened before sticking, you can proceed to pouring the second layer. The number of layers can be increased to give the floor more strength or volume. Each subsequent word is filled after the previous one has dried. The curing time of the last layer until the floor is ready for use at least 72 hours.


