
We’ve all had our fair share of troubles with a normal tape measure. Some get lost, never to be found again and others might not be suitable for the job you’re using it for.
Gone are the days where you have to pull a long tape to measure something. Let’s not forget the times when you accidentally let go of them and you have to start all over again.
However, thanks to the development of technology there is now a new laser measuring tool – a laser tape measure! Get ready to take your construction game to a whole new level.
Luckily for you, we’re providing 5 smart tips for using a laser tape measure with ease.
What Is a Laser Tape Measure?
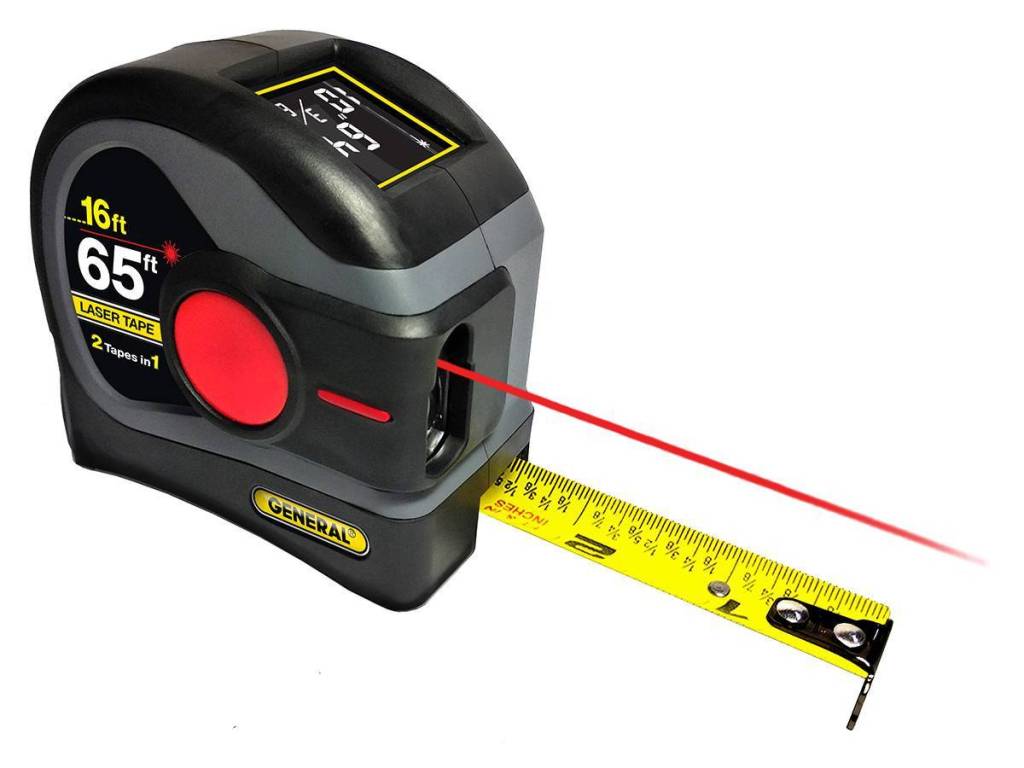
With a laser tape measure, you can measure distances up to 600 feet! It’s a simple device which is accurate to within 1/8 inch up to almost 300 feet.
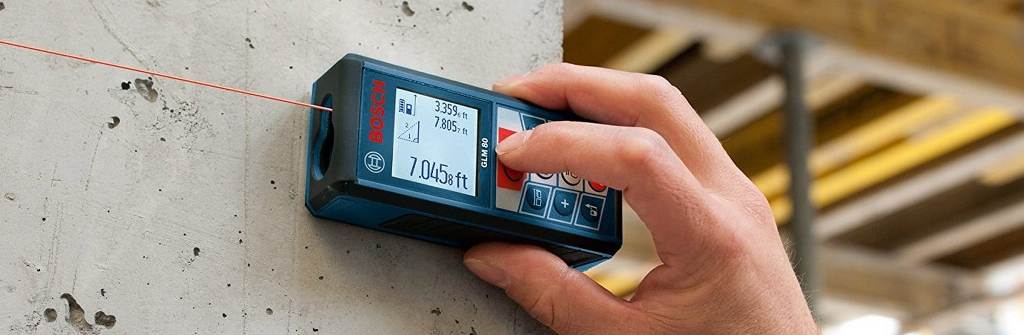
That’s why it’s an ideal tool for construction and for those who love to tinker around their house. There are many advantages to using this device, you start by turning the device on. Next, you select a mode for testing. Once you have, simply aim the laser dot to an object at a distance.
You will be able to see the accurate distance from the object to where you are standing from depending on the mode you’ve selected. This also varies from one model to another.
However, it’s way faster than a normal tape measure and it doesn’t take two people to measure it.
1. Practice Using a Target
Working with a laser tape measure when you’ve been using a normal one your whole can be a bit challenging and fun as well. All you need to know is that as long as you aim at a target, you’ll always get an accurate measurement.
The device won’t need a target when it’s measuring distances that are less than 100 feet. However, when working with distances that are beyond 100 feet, use a reflective target. You’ll find that the results will be much more favorable.
That being said, a mere post-it note, piece of duct tape or a velcro dot will work fine as a target for short distances. But when you’re outside, use a reflective target for distances over 100 feet.
Practice first with your laser tape measure. Test out the different modes the device might have, play around with them before you use it for work.
2. Easy Measuring
If you’re still worried about the laser tape measure being super hard to use, don’t! It actually can’t get any easier. Just by placing the tape against an object and aiming the laser dot at your other target gives you the distance between them.
All of this made easy just by pressing the measuring button on your device. There are some devices that will offer you the option of using either the metric or inch system when you’re measuring something.
It’s no secret some people are familiar with either one of these measuring methods. So, it’s really not a big deal at all. Whatever method you’re accustomed to, you can use with ease. Just press a button to change the numbers!
3. Check Out the Extra Keys
Many people don’t really bother much with the extra keys, however, these addition and subtraction keys can be super helpful once you know how to use them.
You can use the triangulation methods included in the device when there’s no target in your sight. For example, you can measure the front of a house fairly easily. All you have to do go from one corner to the other and press the addition key.
By pressing the “addition” key you’ll get the measure to the same point, but when you press the equal key you’ll get the complete measurement. You can even use the “minus” key in the same way!
Learning about these keys can make your work super easy and fun too. If you’re truly interested in the keys, you can check out the manual that comes with the device.
4. Measuring Longer Distance
Another important tip we have for you is about measuring longer distances. Whenever you’re measuring something under the direct sunlight you’ll find that you’re having problems seeing the laser dot.
This can be problematic as you won’t know if you’re measuring the right distance or whether you’re pointing at the right object at all. Times like this, it’s best to equip a magnified viewfinder.
Some models of laser tape measures have this available with them. Other models come with an optional external viewfinder which is great because they give you even greater magnification.

Whatever kind of work you’re doing, use the viewfinder to get a closer look at the target. This will be helpful when you’ll have problems locating the laser over long distances.
So, no need to worry about not being able to measure anything ever again with the viewfinder. Even under direct sunlight!
5. Keep it Clean!
Just like any other device you might own, keeping the laser tape measure clean and properly aligned is an essential task. You must remember to handle your device with care whenever you’re using it or even when you’re cleaning it.
That being said, investing in a good lens cleaner is the right way to start this habit. This way you’ll be able to get accurate measurements consistently. Use it regularly to keep the results coming!
Next, let’s talk about storage. Keep your laser tape measure packed away separately when it’s not in use. You’ll be preventing scratches on the lens from the other items in your toolbox.
Avoid dropping your device from getting wet, collecting dust and dropping it if it’s not covered heavily. Always handle the laser tape measure with care and wipe it clean before you store it back in the case.
Final Thoughts
In conclusion, we’d like to say that a laser tape measuring device is super handy for those who want accurate results and who also want to save time. With this device you’re working life will be made easier.
So, why wait? If you already own a laser tape measure, go out there and get started! For those who are still unsure, we hope our tips help you to see that it’s actually an easy device you can use!


